
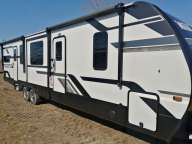

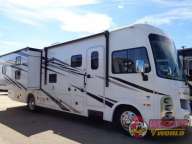
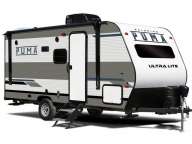

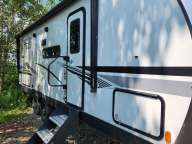


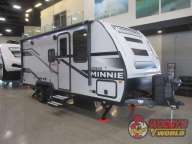

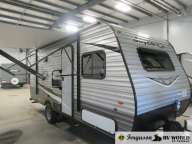


So, you have a new RV and can’t wait to hit the road on your first road trip. But are you actually ready? To make sure that your vacation is everything you hope it will be, it is important to be well prepared before you ever leave home. Any experienced RV’er will tell you that the secret to success on the road is to have a plan of attack. I have had a number of travel trailers and tow vehicles and would like to share some tips for a successful trip.
Let’s start with a shopping list of basic things that you are going to need for your RV to function as designed. Most of these things are not likely included in the purchase of a new RV and if they were included in the purchase of your second hand RV you may want to replace them anyway.
Fresh Water
A fresh water supply hose is available in 25’ and 50’ foot lengths. I prefer to have two or three 25’ length hoses that I can join together when needed. You need to buy the white, food grade hoses that are sold at every RV dealership or parts distributor. Don’t use a garden hose, it may be nostalgic, but it is going to taste just like drinking from the hose. I also suggest having an external water filter to connect at the source to filter sediment, odour, bacteria and chlorine from the water. There are a few different systems, but one of the most popular is a disposable cartridge type that you use for a specific period of time and then discard for a new one. Other fresh water items to consider are a Water Pressure Regulator and “Y” fittings. Although many RVs will have an internal water regulator, I also like to have an external one to be on the safe side. The “Y” fitting is handy if you would like to join your water supply to another RV or to run a second hose for outdoor washing.
Black and Grey Water
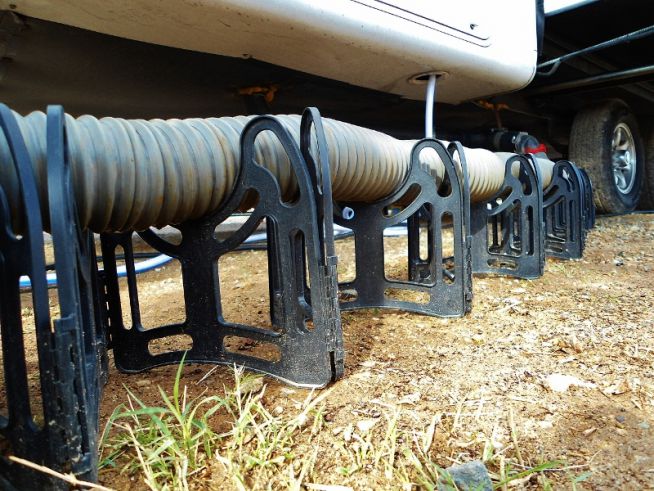
Do yourself a favour and buy the best quality sewer hose you can find. The five bucks you saved on the cheap one won’t mean a thing when you have a stinky little fountain spraying your leg when you pull your dump valve. The hoses come in two lengths, 10 and 20 feet and most of the time a 10 foot hose will do just fine. I also keep a brand new hose, still in the box, in my tow vehicle. When the day comes when I have to dump the tanks and find my hose missing or damaged I will be very happy to get the brand new one from under the seat of the truck to save the day. I also carry a couple extra hose clamps. If a hose is damaged right near the end you can always cut off a chunk and re-attach the fitting. Also make sure you have the fitting that fits into the hole at the campsite or dump station. This gives an airtight seal to prevent sewer gas from smelling up the area. There is also a gadget called a “sewer slinky” which is an expandable hose support that can be configured to hold your hose off the ground and slope towards the drain. This is a very useful thing to have if you are staying anywhere more than a few days. There are an abundance of holding tank additives to help keep the tanks from smelling bad as well as additives to add to keep valves working well. NEVER use household residential chemicals in your RV tank. You will very likely ruin all the seals and valves in your system. I keep disposable latex gloves handy for doing the dumping deed. There are usually no hand washing facilities near the dump stations so having gloves and hand sanitizer is a must. Make sure that you purchase proper RV toilet paper. RV toilet paper is made to completely break down in the tank and not get stuck in your dump valves. Excess paper in the tank will often stop your holding tank gauges from working properly.
Towing Accessories
If your tow vehicle does not have extendable mirrors as a factory option, you will need a set of add-on towing mirrors. There are quite a few choices for this item. Some are strapped to your doors, some fit over your existing mirrors and are made for your specific vehicle. There are ones that are universal and attach to the edges of your stock mirrors with hand screws. These work quite well and are very popular. I have used lightweight suction cup mirrors that stick to the glass on my vehicle's rearview outside mirrors. The advantage of this type is that they then adjust with the electric mirrors on the tow vehicle. Just make sure you have a good bond or they will fly off and bang against your doors as they fly alongside your vehicle on the safety strap like a reflective plastic kite!
When you get to your camp site or RV park you will need to make sure that the trailer is level. Your plumbing and refrigerator all work optimally if you are as close as possible to level. There are levels you can attach permanently to your RV if you don’t mind making holes in the exterior. I prefer to have a surface level like a carpenter would use and just place it on the floor of the trailer when setting up. Remember you have to level side to side when still attached to your tow vehicle. This is a process of pulling up on to blocks on the low side of the trailer, checking and then possibly adding another block until you are level. Lynx brand leveling blocks come in a zippered bag and are in one inch increments and clip together like big LEGO blocks. They wash off easy and last for years. Once you are level you need wheel chocks of some kind to secure the RV from rolling. The inexpensive yellow wedges are the most popular item to use. Did you know that those things have a best- before date on them? That’s right. The manufacturer knows that plastics degrade in UV light and eventually will become brittle and possibly crush when you need them most. I have a two axle trailer and prefer the more expensive expanding wheel chocks that fit between the wheels and open to lock the wheels in place. These even have a spot for a lock to use your chocks as security when the trailer is unattended in a campground or parking lot. After you are level side to side you use your carpenters level front to back to level the trailer using the tongue jack.
Electrical
Your RV no doubt came with a “shore power” cable to plug into an electrical connection. The connection could be a regular 15 amp plug, a 30 amp plug or a 50 amp plug. Whatever type is standard on your RV, you will still need adapters on hand to use other configurations. These days with the dual air conditioners, washers and dryers and many power options of large fifth wheels and motorhomes many commercial parks have 50 amp connections only. If your trailer only has a 30 amp plug end you will need an adapter to be ready to connect. I also use an adapter at home to step my 30 amp connection down to a standard 15 amp household plug to keep the trailer plugged in and charged up. Just don’t try to run your A/C on 15 amps!
Other Supplies
No matter if your RV is new or previously enjoyed, it is still a great idea to have tools with you. I once asked an expert RV restorer what tools I should bring with me on a cross-continental trip in a vintage Airstream. He replied “All of them!” But seriously folks, having screwdrivers, a set of sockets, a rechargeable electric drill, a hammer and some duct tape can’t hurt. I also keep a selection of fasteners and lightbulbs found in our RV in the toolbox. When something needs to be repaired or tightened up, I can guarantee it will not be when you are parked in the driveway at home!
In the next blog entry we will look at creating the all important check list, perhaps the single best investment of your planning time. Until then, happy trails and please read your owner’s manual, it could save you a lot of time, grief and money later.
Can Am RV has an extensive choice of RV products in their expansive store. For all your parts and service needs follow this link... https://www.canamrv.ca/parts-and-service/
Your First RV Road Trip, But Are You Really Ready to Roll?
Aug 29, 2016
Jul 4, 2016